Let’s learn what are the Modify tools in Revit specified for! Learn with techniques and examples that are so simple that even a novice can understand!!
LIST OF MODIFY TOOLS IN REVIT
 Figure 1: Modify Panel under the Modify Tab (upper).
EXPLAINED IN THIS CHAPTER:
- ALIGN
- TRIM/EXTEND CORNER
- SCALE
- ARRAY
- SPLIT
ALIGN

Figure 2: ALIGN command symbol.
1.Click the symbol or type key ‘AL’ to start command.
2.Click on the first point (any part of) as a reference point.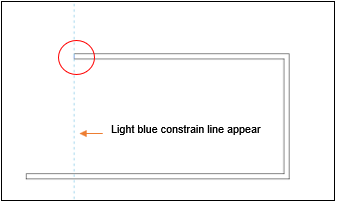
3. Click on the second point to be aligned with the first point.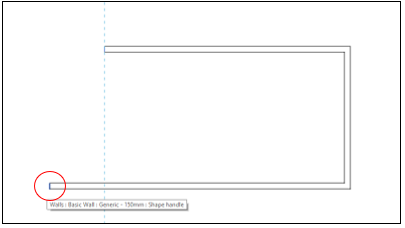
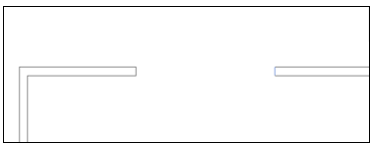
4. And now both the wall ends have been aligned.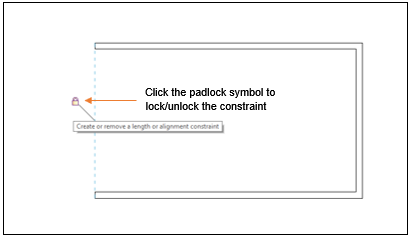
TRIM/EXTEND CORNER
Figure 3: TRIM/EXTEND CORNER SYMBOL
1. Click the symbol or type key ‘TR’ to start command.
2. Click on the first side to trim/extend for corner.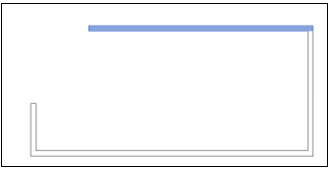
3. Click on the second side to trim/extend for corner. 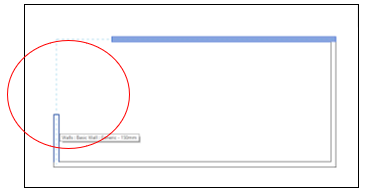
4. And now both the wall ends have been aligned.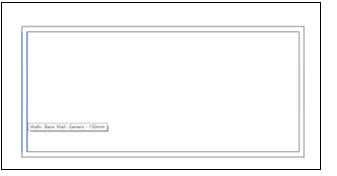
SCALE

Figure 4: SCALE SYMBOL
1. Click on empty space, hold and drag mouse pointer from upper left corner to right for selection windows to select all walls.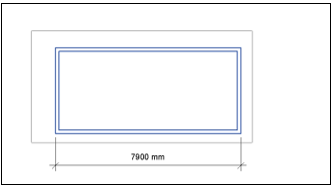
2. Click the symbol or type key ‘RE’ to start command.
3. Select ‘Numerical’ and put a number for scale 1: x on the Option bar. ’x’ is the number to key in.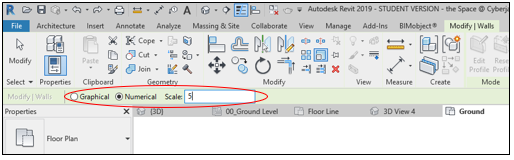
4. Click on any endpoint side to specify scale basepoint.
5. And the overall shape will change to the scale accordingly.
ARRAY
Figure 5: ARRAY symbol.
1. Click on empty space, hold and drag mouse pointer from upper left corner to right for selection windows to Select all objects wanted.
2. Click the symbol or type key ‘AR’ to start command.
3. On the Option bar pick radial symbol and specify information and click ‘Place’ for manually pick the array centre of rotation.

4. Click to place the array centre point at any desired place.
5. Specify the angle of array rotation on the Option bar and press ‘Enter’.![]()
6. Specify the number of arrays for the object wanted and press ‘Enter’.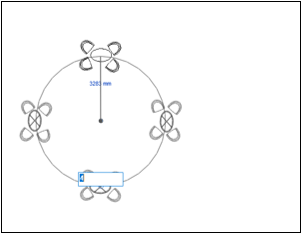
7. And now the objects are in arrays arrangement.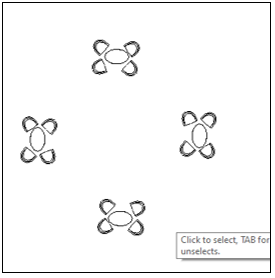
SPLIT
Figure 6: SPLIT tool symbol.
1. Click the symbol or type key ‘SL’ to start command.
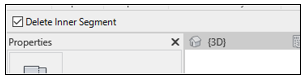
2. Check the Delete Inner Segment on the Option bar to split with gap.(untick if without gap)
3. Pick the first point of split.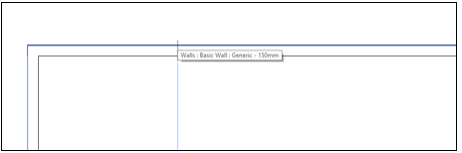
4. Pick the second point of split.
5. And now the wall has been split into two partition.
So that’s all from me.
Don’t forget to click our online courses page to get more detailed training with link down below.
https://nfdesignengineering.com/onlinecourses/
Thank You.