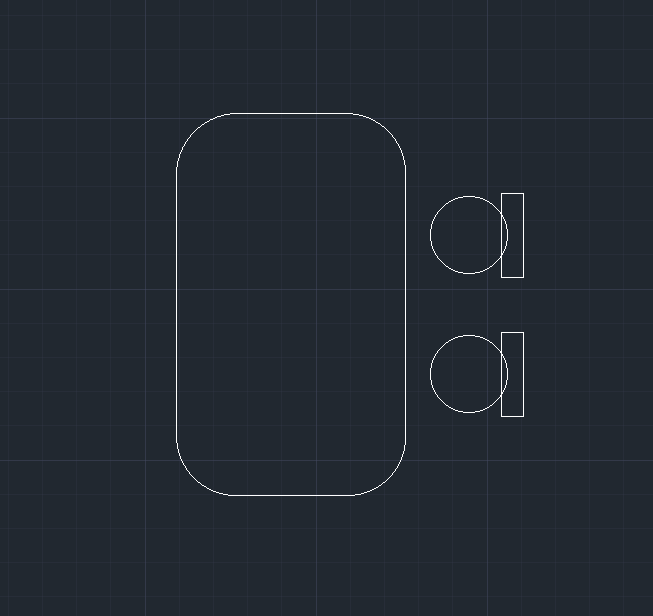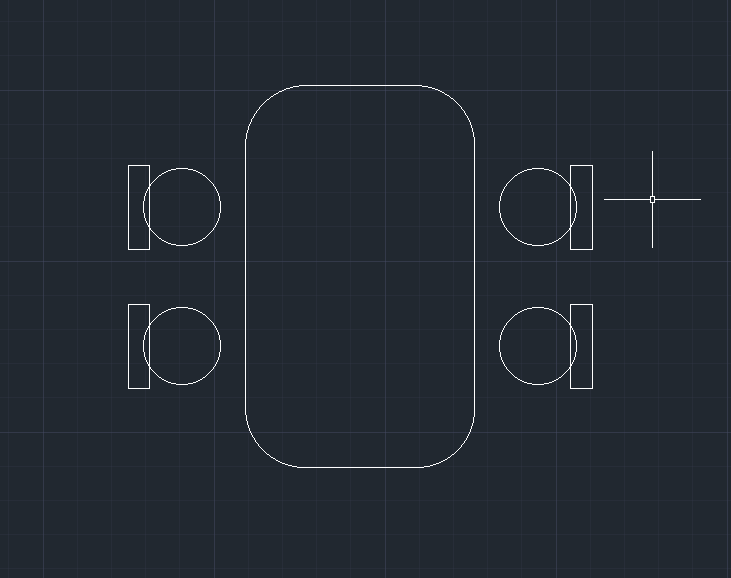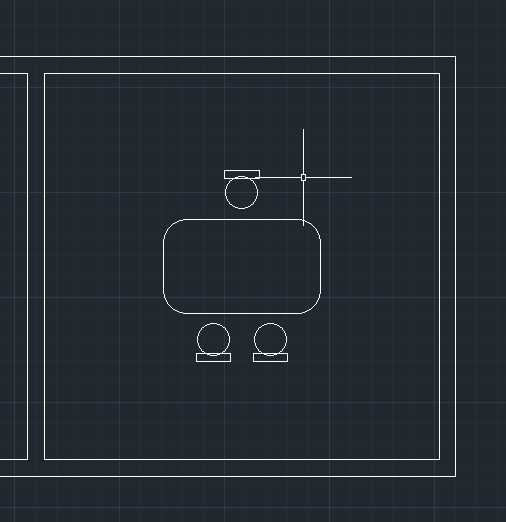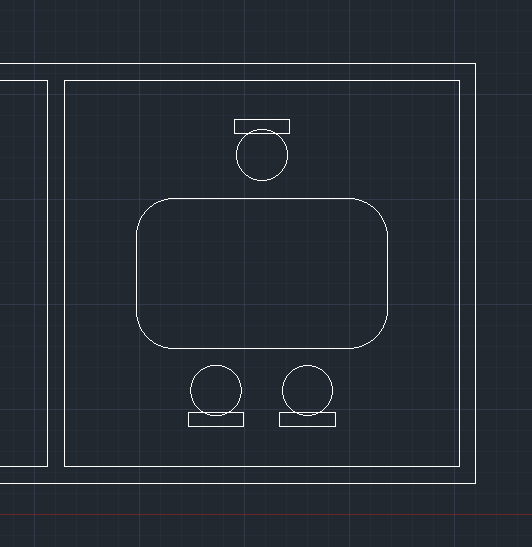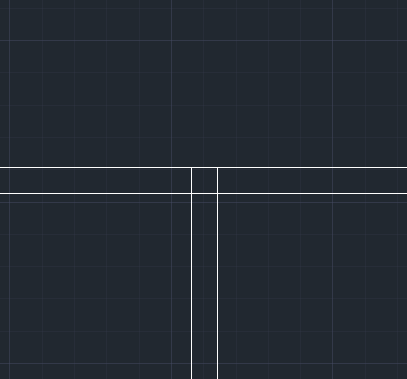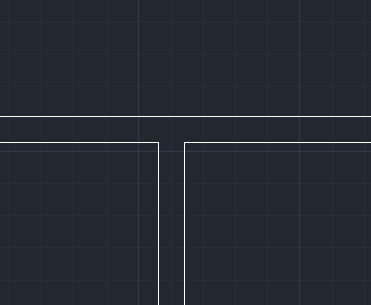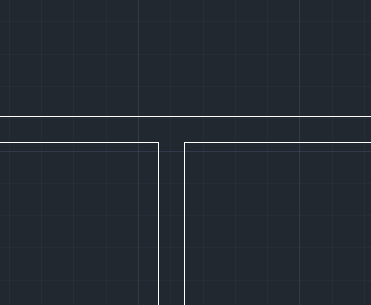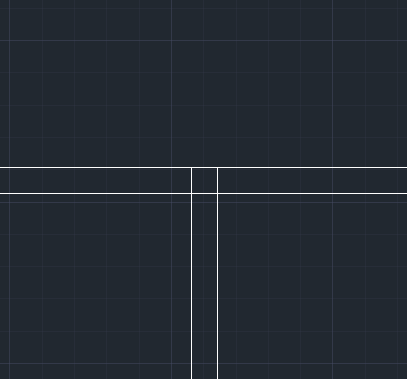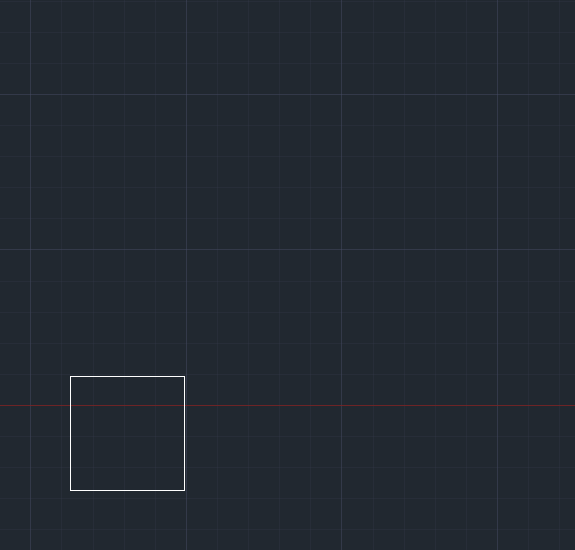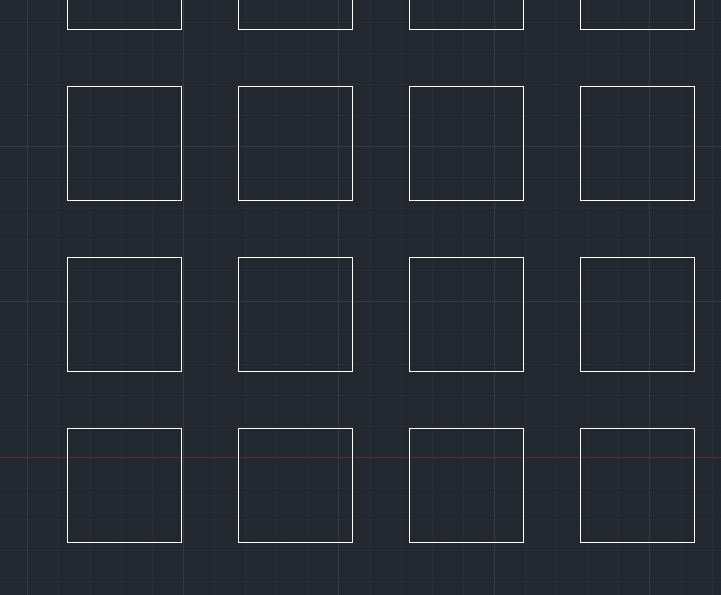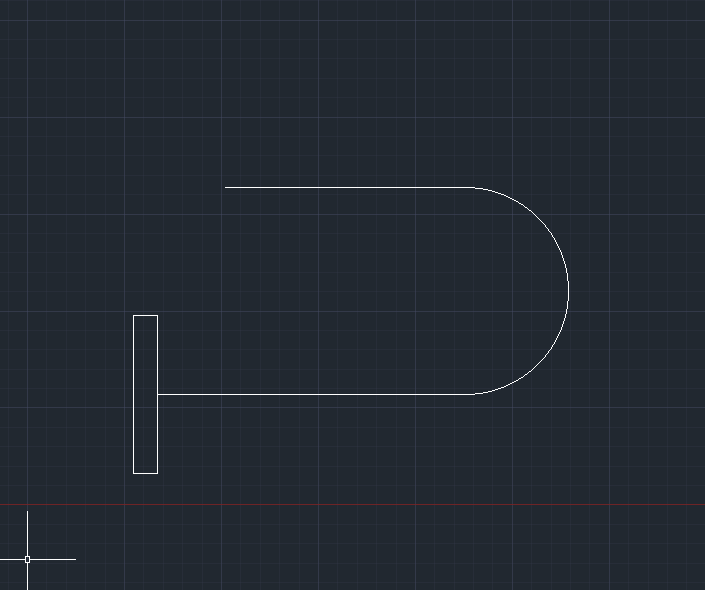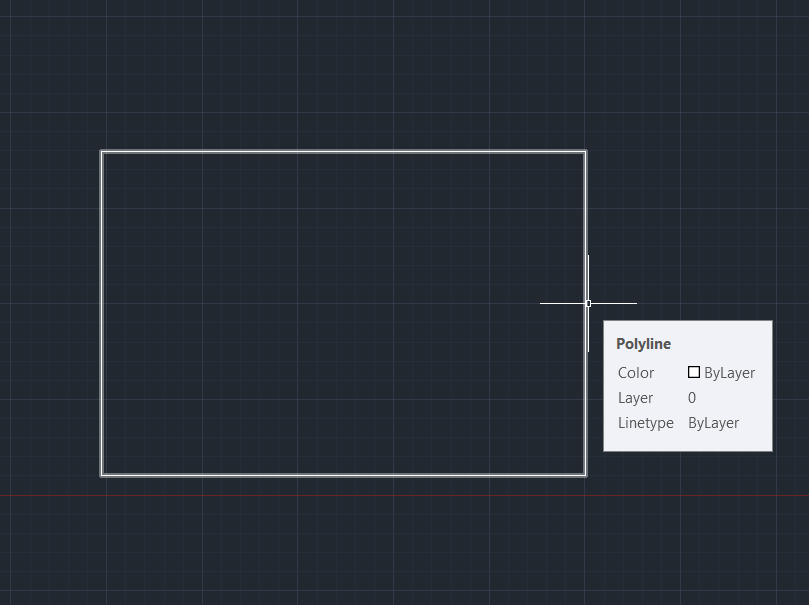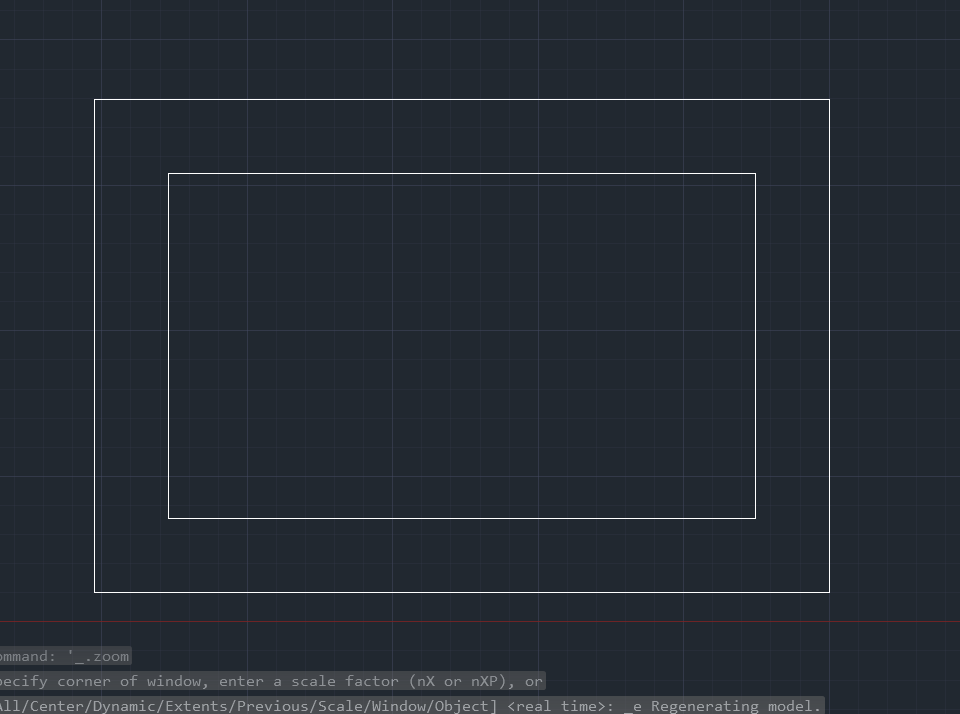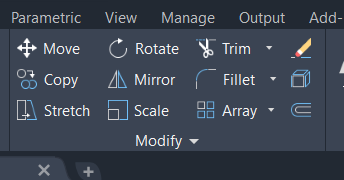
Dalam AutoCAD Drafting, ada 3 kelas command2 yang anda perlu faham iaitu drawing, modification dan annotate. Antara command2 modify yang asas adalah:
- Move
- Copy
- Stretch
- Rotate
- Mirror
- Scale
- Trim
- Extend
- Fillet
- Chamfer
- Array (rectangular, path, polar)
- Erase/delete
- Explode
- Offset
Okay jom kita go thru satu2 command modify yang digunakan dalam AutoCAD.
MOVE
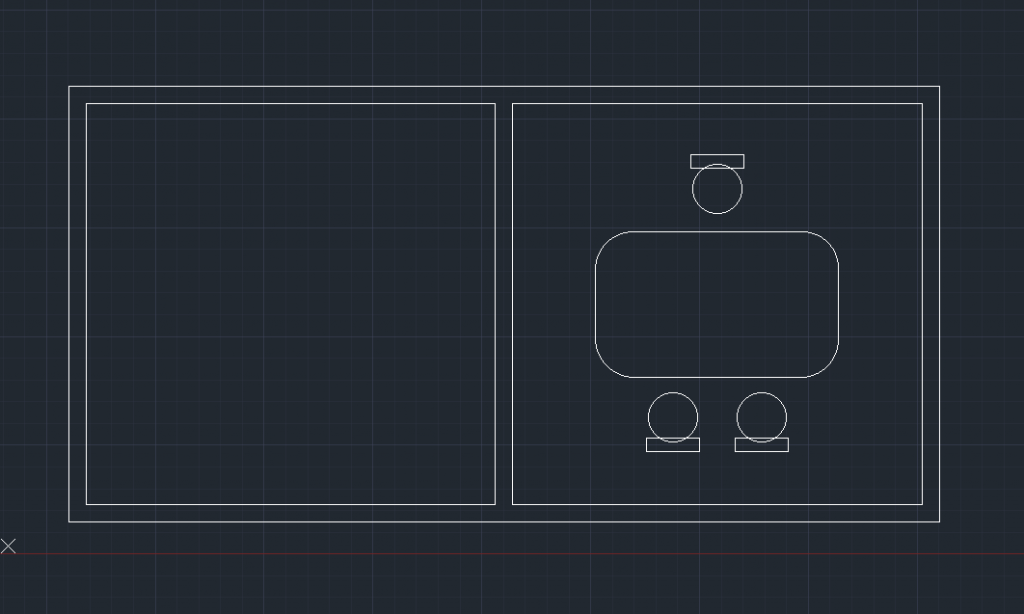
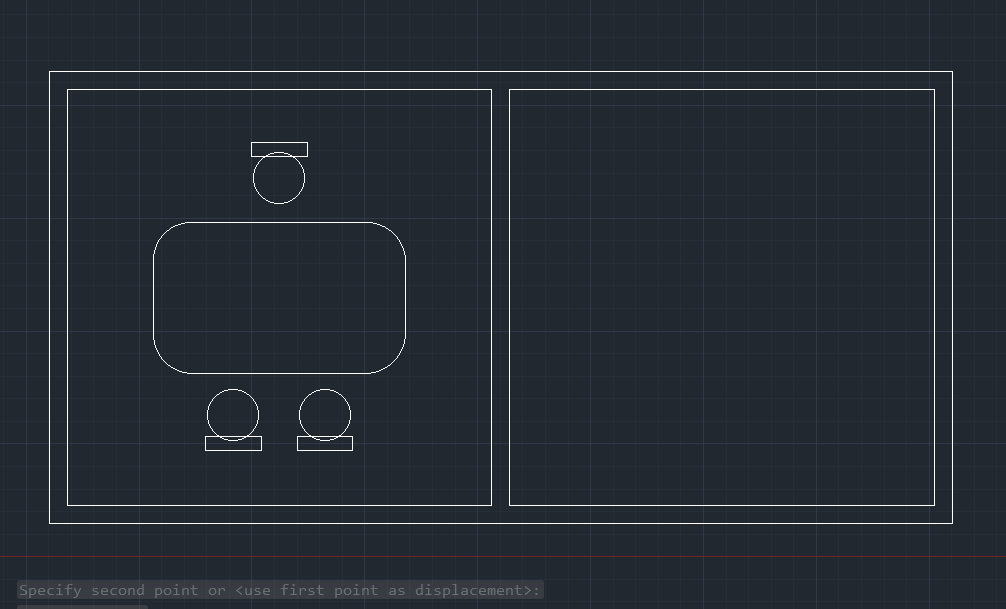
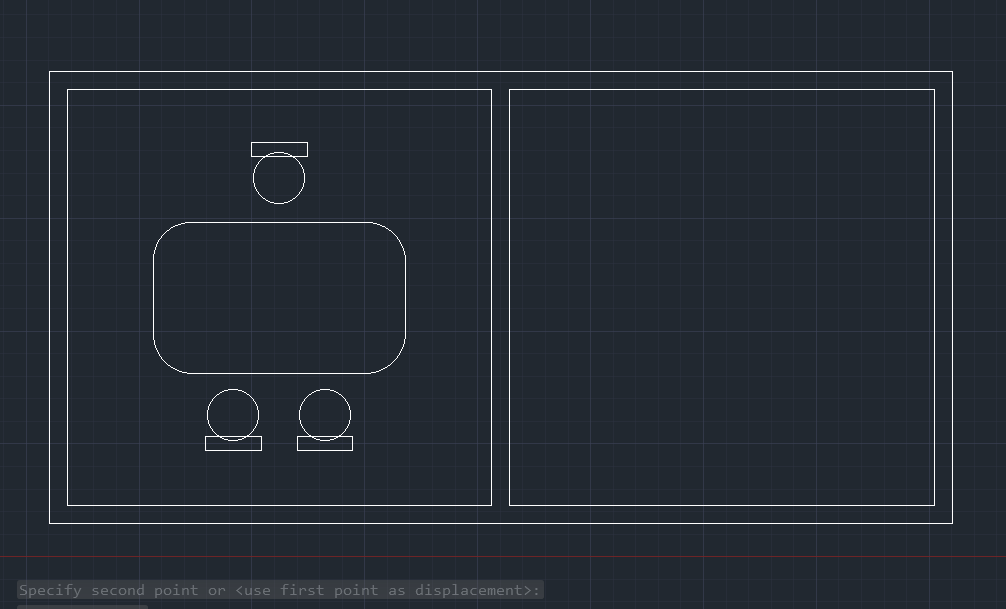
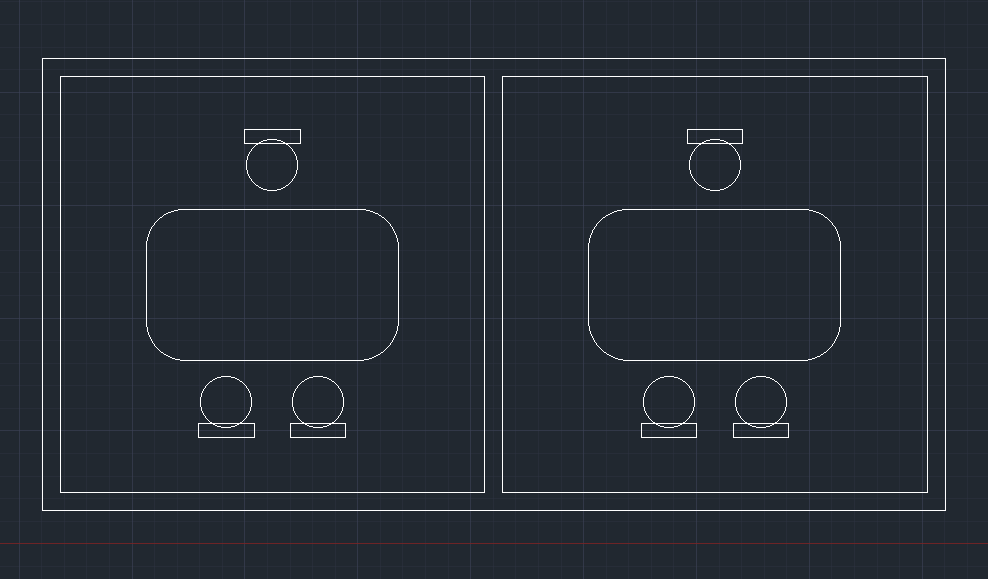
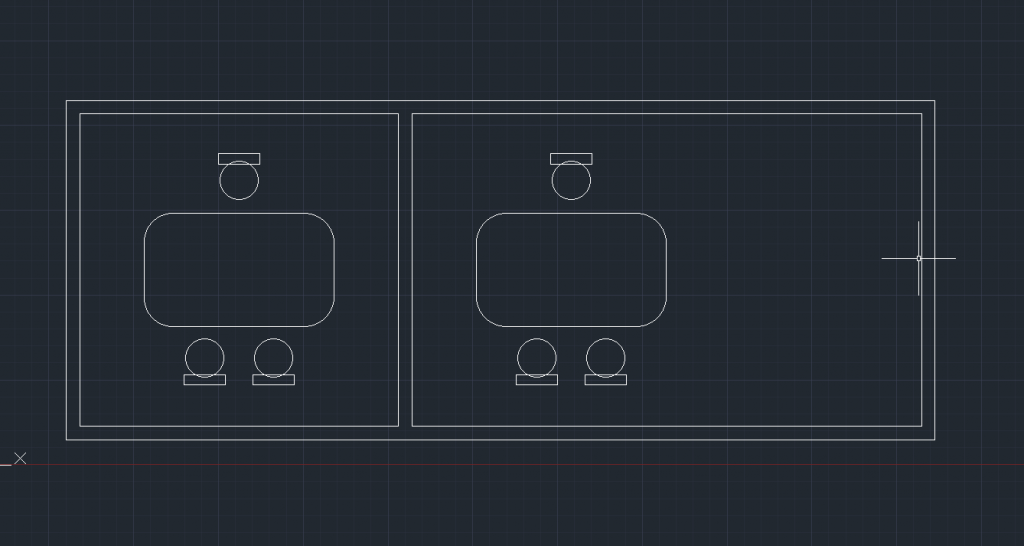
Seperti anda lihat pada gambar diatas, command MOVE digunakan untuk mengalihkan perabot dari bilik kanan ke bilik kiri. Berikut adalah step2 command MOVE:
- Type ‘MOVE’, press ENTER.
- Select objects, press ENTER, specify basepoint.
- Move the object to another location, you also can specify the distance.
COPY
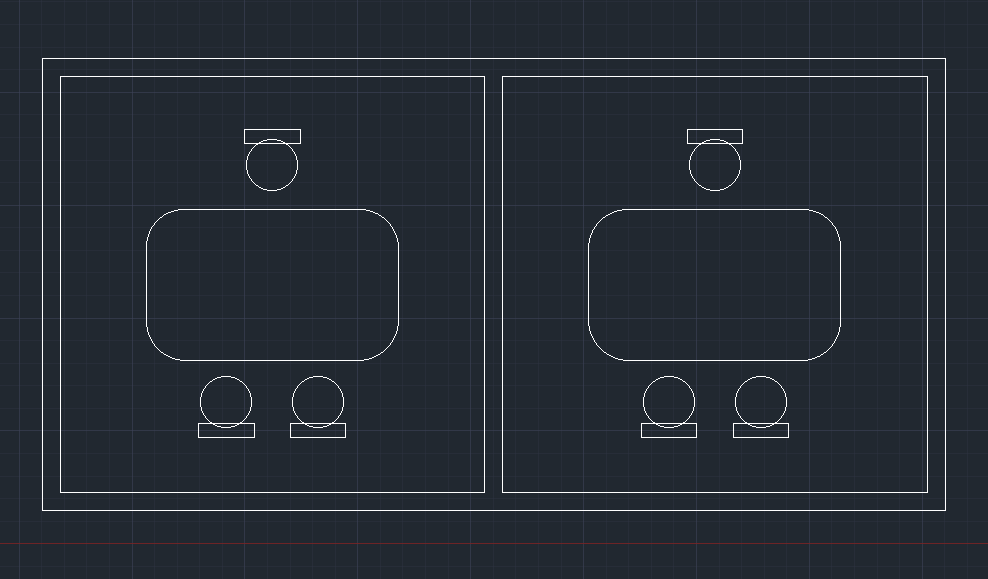
Copy dan Move step dia adalah sama sahaja, cuma bezanya Copy adalah untuk duplicate object dan Move adalah untuk pindahkan object. Berikut adalah step untuk COPY:
- Type ‘COPY’, press ENTER.
- Select objects, press ENTER, specify the basepoint.
- Copy the objects to other locations, also can specify the distance.
STRETCH
Gambar diatas menunjukkan bagaimana bahagian belah kanan dinding bilik dipanjangkan menggunakan command STRETCH. Berikut adalah step command STRETCH:
- Type ‘STRETCH’, press ENTER.
- Highlight by using the selection window the part of the rectangle that you want to stretch, press ENTER.
- Specify the basepoint, then stretch the rectangle to the desired point or location.
ROTATE
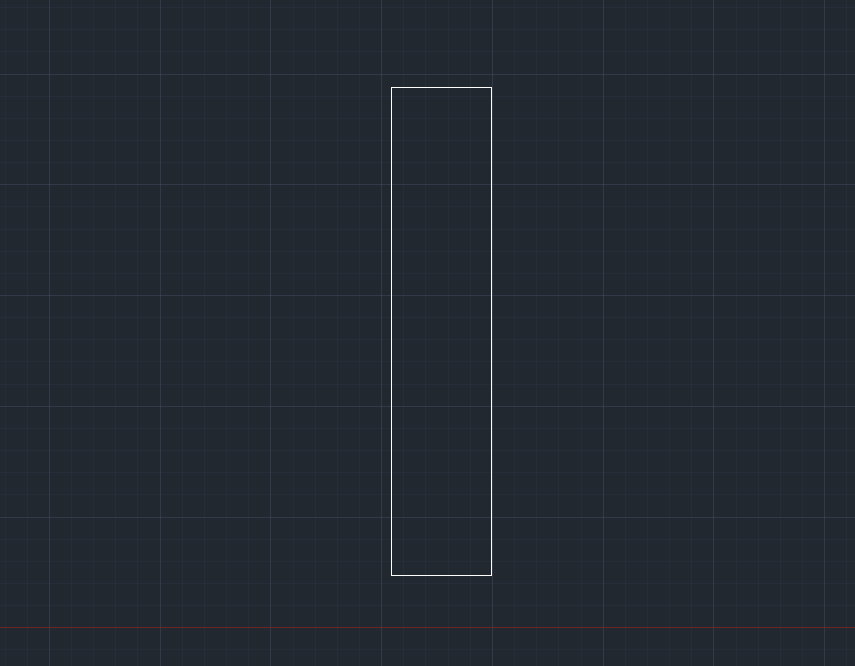
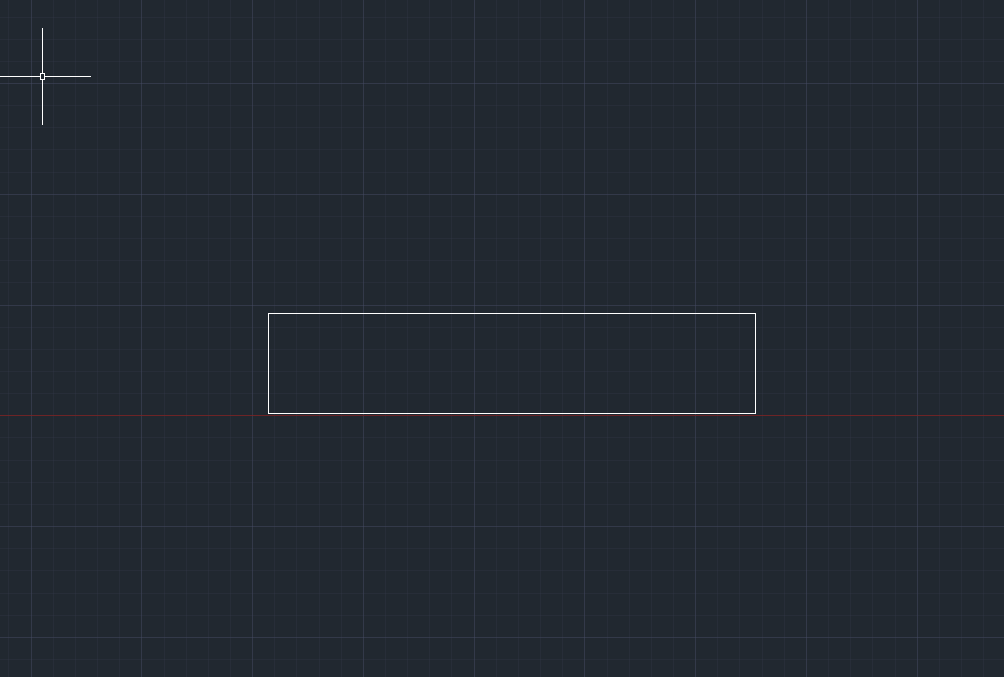
Gambar diatas menunjukkan object berbentuk rectangle diputarkan dari menegak menjadi melintang menggunakan command ROTATE. Berikut adalah step command ROTATE:
- Type ‘ROTATE’, press ENTER.
- Select objects, press ENTER, specify the basepoint or the center for rotation.
- You can rotate the object by using cursor or put the desired angle.
MIRROR
Gambar diatas menunjukkan kerusi belah kanan meja duplicate ke belah kiri meja menggunakan command MIRROR. Berikut adalah step command MIRROR:
- Type ‘MIRROR’, press ENTER.
- Select objects, press ENTER, create the mirror line.
- Press ENTER, you can decide either whether to erase the source object or not.
SCALE
Gambar diatas menunjukkan object perabot yang dibesarkan menggunakan command SCALE. Berikut adalah step command SCALE:
- Type ‘SCALE’, press ENTER.
- Select objects, press ENTER, specify basepoint or center of enlargement/reduce
- You can whether use the cursor or scale factor.
TRIM
Gambar diatas menunjukkan bahagian yang dipotong menggunakan command TRIM. Berikut adalah step command TRIM:
- Type ‘TRIM’, press ENTER 2x.
- Click on the parts that you want to trim.
- Press ENTER to exit the trim command.
EXTEND
Gambar diatas menunjukkan line yang dipanjangkan sehingga bersentuh dengan object berhampiran menggunakan command EXTEND. Berikut adalah step command EXTEND:
- Type ‘EXTEND’, press ENTER 2x.
- Click to the line that you want to extend.
- Press ENTER to exit the extend command.
FILLET
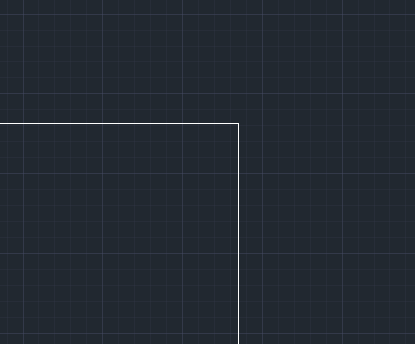
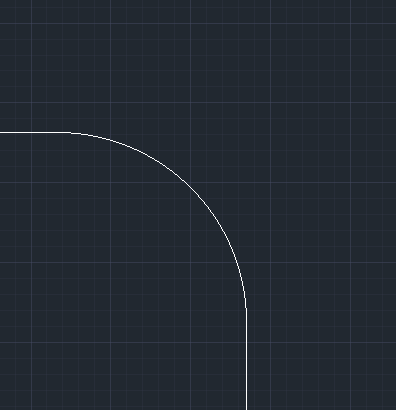
Gambar diatas menunjukkan bucu yang tajam menjadi melengkung setelah menggunakan command FILLET. Selain itu juga FILLET juga dapat mencantumkan 2 line vertical dan horizontal yang terpisah. Berikut adalah step command FILLET:
- Type ‘FILLET’, press ENTER.
- Click radius, specify radius.
- Click to the 2 lines that form the edge.
CHAMFER
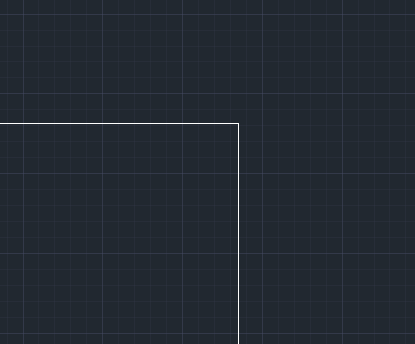
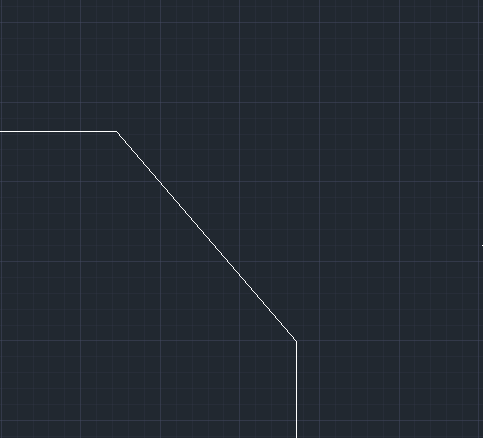
Gambar diatas menunjukkan bucu yang tajam menjadi bevel setelah menggunakan command CHAMFER. Berikut adalah step command CHAMFER:
- Type ‘CHAMFER’, press ENTER.
- Click ‘distance’, specify the 1st distance & 2nd distance.
- Click to the 2 lines that form the edge.
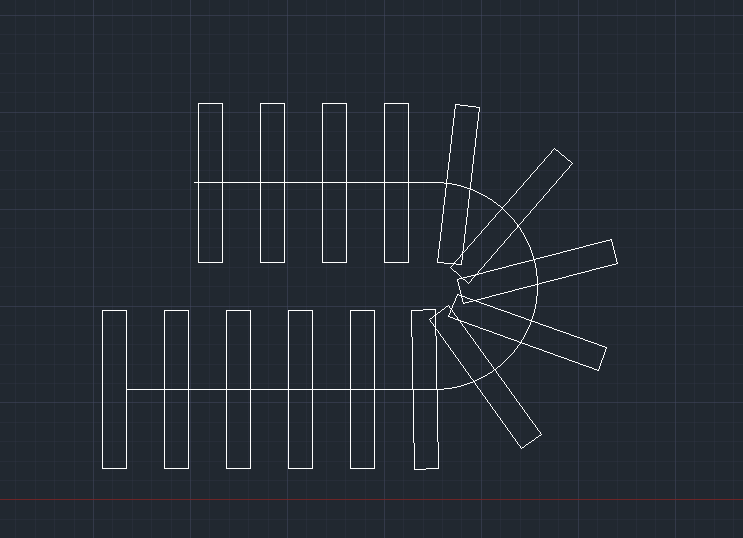
ARRAY
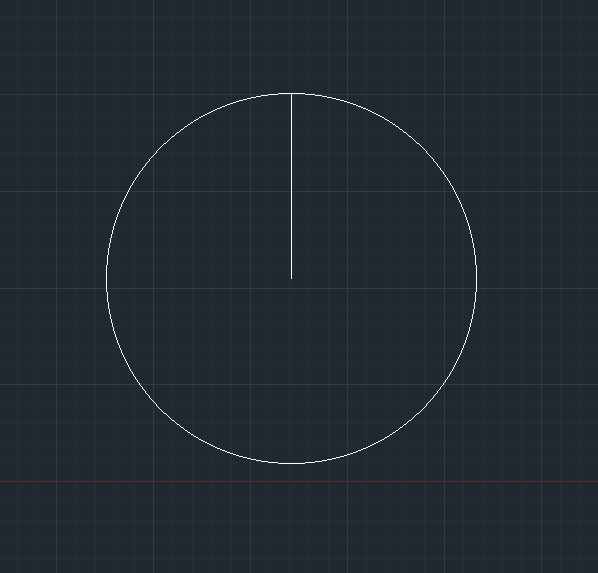
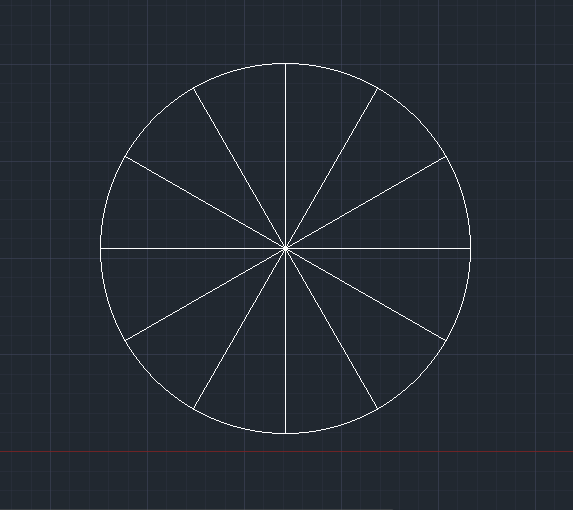
Gambar diatas menunjukkan garisan lurus yang disusun secara bulatan dalam circle menggunakan command ARRAY (POLAR). Berikut adalah step command POLAR ARRAY:
- Type ‘ARRAY’, press ENTER.
- Select objects, press ENTER, select ‘polar’
- Click to the center point, and you can decide the number of items.
ERASE
Untuk buang atau delete object dalam AutoCAD, biasanya saya akan terus select object dan tekan DELETE kat keyboard sahaja. Cara ni lebih cepat.
EXPLODE
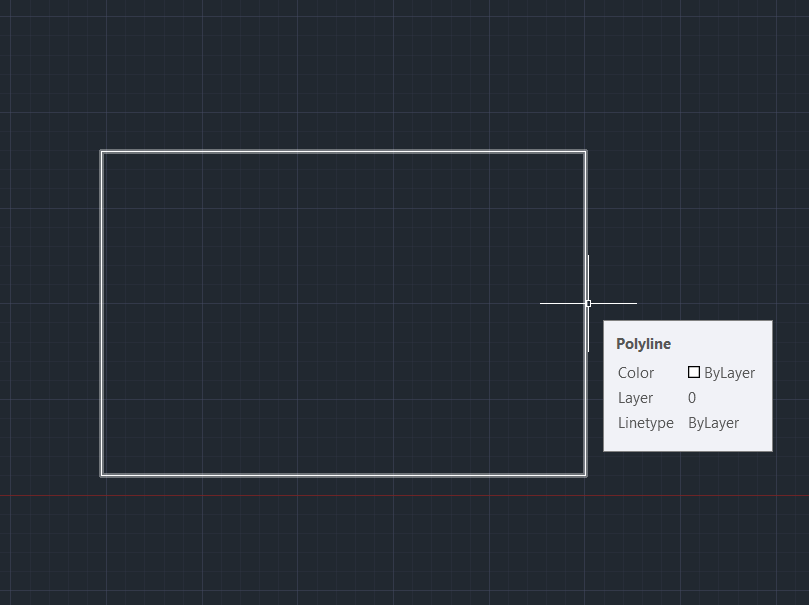
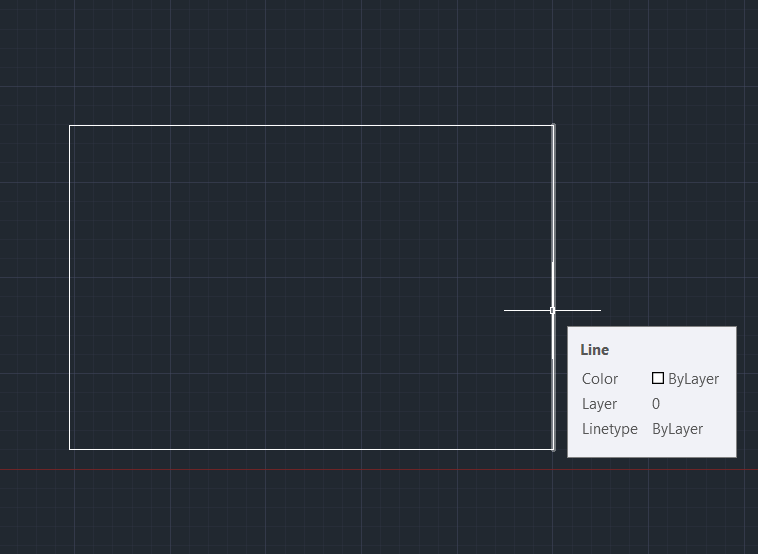
Gambar diatas menunjukkan rectangle yang dipecahkan menjadi separated line segments menggunakan command EXPLODE. Lawan bagi command EXPLODE adalah JOIN. Berikut adalah step command EXPLODE:
- Type ‘EXPLODE’, press ENTER.
- Click to the objects, press ENTER.
OFFSET
Gambar diatas menunjukkan rectangle yang sudah menjadi parallel copy dengan menggunakan command OFFSET. Command ni biasanya digunakan untuk create wall dalam lukisan pelan architecture, structure dan M&E. Berikut adalah step command OFFSET:
- Type ‘OFFSET’, press ENTER.
- Specify offset distance, press ENTER.
- Specify the direction of the offset, click and press ENTER.
Jadi macam mana? Anda sudah pun didedahkan kepada command2 asas untuk drawing modification menggunakan AutoCAD. Teruskan follow kami untuk lebih update dan tutorial okay!
Berminat nak belajar AutoCAD 2D & 3D secara online? Jom klik pada link website http://www.nfdesignengineering.com.my/onlinecourses
Nazmi Ismail – Trainer, Autodesk Certified Professional: AutoCAD
