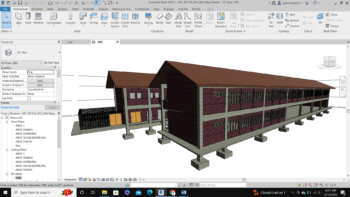
When working with Revit, we’ll always have to face some types of files to create, coordinate and managing models throughout the BIM and design process. So for the first step let’s go through how to save a Revit file and their options so that we’ll always come up with the best practice throughout our workflow.
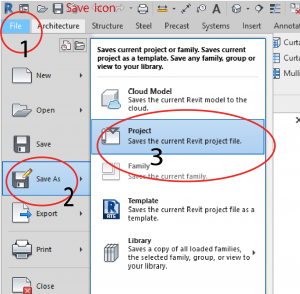
There are two ways to save a Revit file. First is by clicking the File tab, Save As (for the first time save), then click Project and the second is by clicking the Save icon on the Quick Access toolbar.
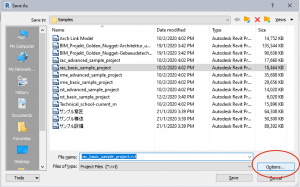
Then you’ll come up with a pop-up dialogue.There, you can see the Options button and click it.
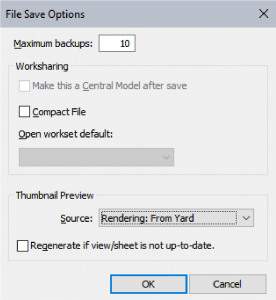
In the File Save Options dialogue, you’ll have three options category that are maximum backups, worksharing and preview.
Maximum backups
For the Maximum backups option meaning that every time you click the Save icon, Revit duplicates the file with added suffix number on the file name such as 0001, 0002 and so on until the maximum number you specified has been reached.

If you specify let say three maximum backups so Revit will update to the latest suffix number with other two duplicate files that precede it. These duplicate files act like a save history so that you can check on the previous file or model condition after you already save it to check on revisions etc. The best practice is to save your Revit project or family files in a specific folder so you can easily trace and organise it. (Never leave it on your desktop)

Worksharing
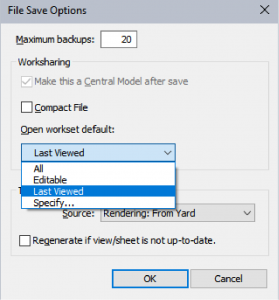
The second option is the Worksharing. The worksharing options are only available to workset-enabled file. The Make this a Central Model after save sets the current workset-enabled file to be the central model at the point of the first time save.
Next, the Compact file reduces file sizes when saving workset-enabled files. For a normal file save, Revit only adding or writes new and changed elements to the current existing files. This is what contributes to the large file size but the good is it takes a shorter period of save operation.
Whilst for workset-enabled file Revit rewrites and removes obsolete files or components to reduce its file size (compacting right?). This is similar to the Purge Unused or flush command in the Manage tab in Revit. As for the saving process speed it takes a longer time to save so be careful on this and only tick it if you want to share the files to the clients or other project members, presentation etc. and not during your normal workflow.
Moving on is the Open workset default. This option is to specify the default open type when opening the central model locally. You can save a worksharing file to always default to one of the following options: All, Editable, Last Viewed, or Specify. Again this option only available to the workset-enabled models.
Thumbnail Preview
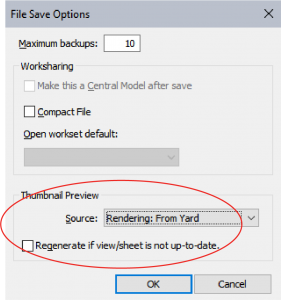
Last but not least is the Thumbnail preview. This option let you specify the view you want to see on the file thumbnail so you can always have an insight into the file content before you open it in Revit.
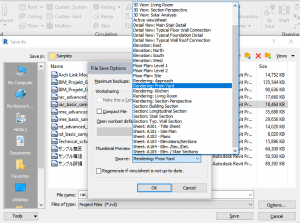
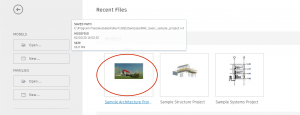
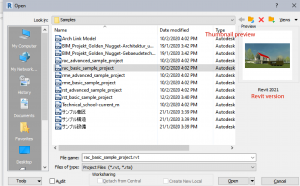
* To specify the view that you’ll come up with when opening a file is the Starting View on Manage tab and not in this option.
So there you go a brief explanation and tips on how to save your Revit model. Now you can rest assured by knowing the what and how of saving your files throughout your workflow.
Don’t forget to visit our online course web page and currently we’re on a promotion!! Click the link below👇👇👇
